What to Expect During the Dental Implants Process: A Step-by-Step Guide to Your New Smile
Allure Dental Arts
Dental implants in El Monte provide a predictable, permanent, and natural-looking solution for individuals seeking to replace missing teeth and restore long-term oral health. Deciding to restore your smile with modern tooth replacement is a major step toward regaining complete chewing ability, protecting facial structure, and feeling confident in social and professional settings. However, it is completely natural to feel uncertain about what actually happens during each phase of treatment.
From initial 3D digital mapping to final crown placement, the treatment journey is a structured, multi-stage process designed to prioritize your physical comfort, safety, and long-term clinical success. Understanding each phase of the journey helps you prepare for your treatment with confidence.
1. Phase 1: The Initial Evaluation and 3D Treatment Planning
Every successful smile restoration begins with a comprehensive clinical evaluation. Because every patient's oral anatomy is unique, detailed planning ensures your restorations are positioned with pinpoint surgical accuracy.
Diagnostic Diagnostics and Health Screening
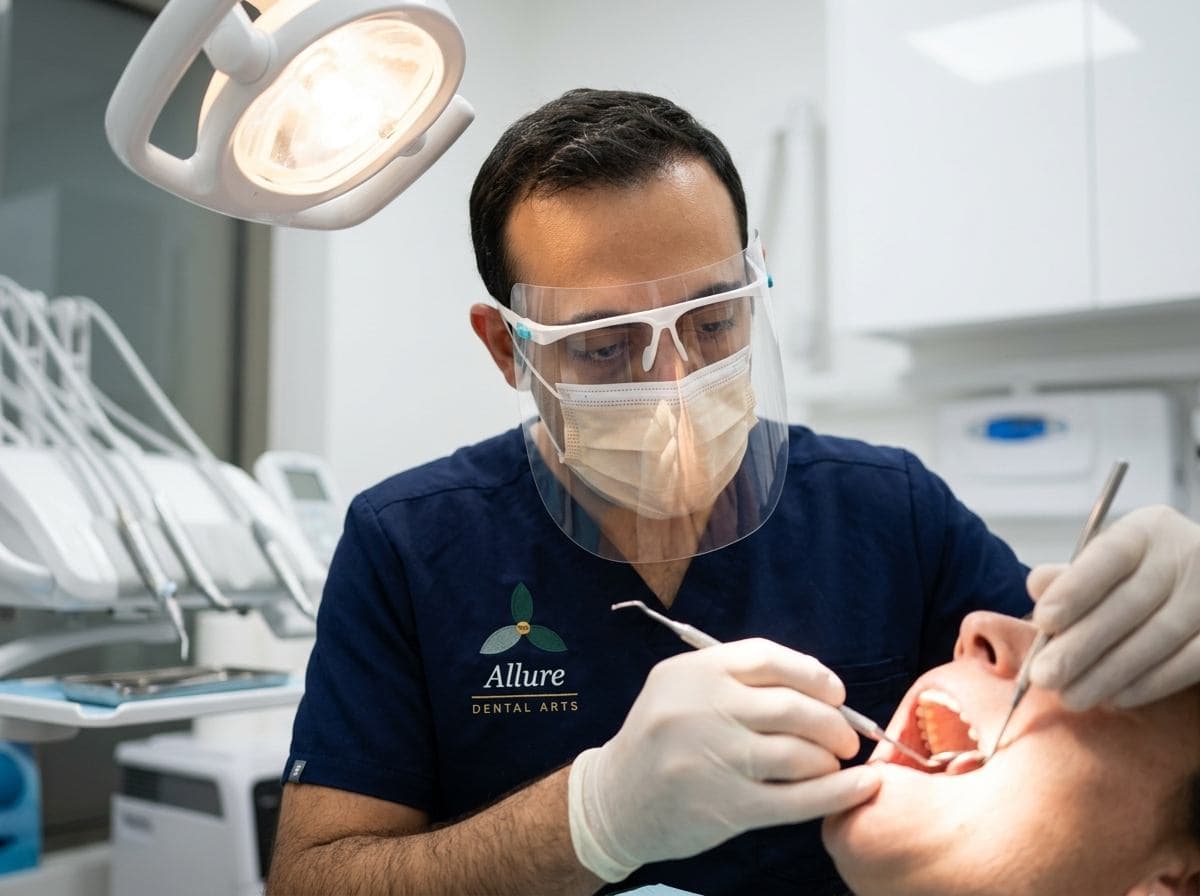
During your initial consultation, your doctor will perform a complete exam to review your medical history, gum health, and bite mechanics. Advanced diagnostic tools include:
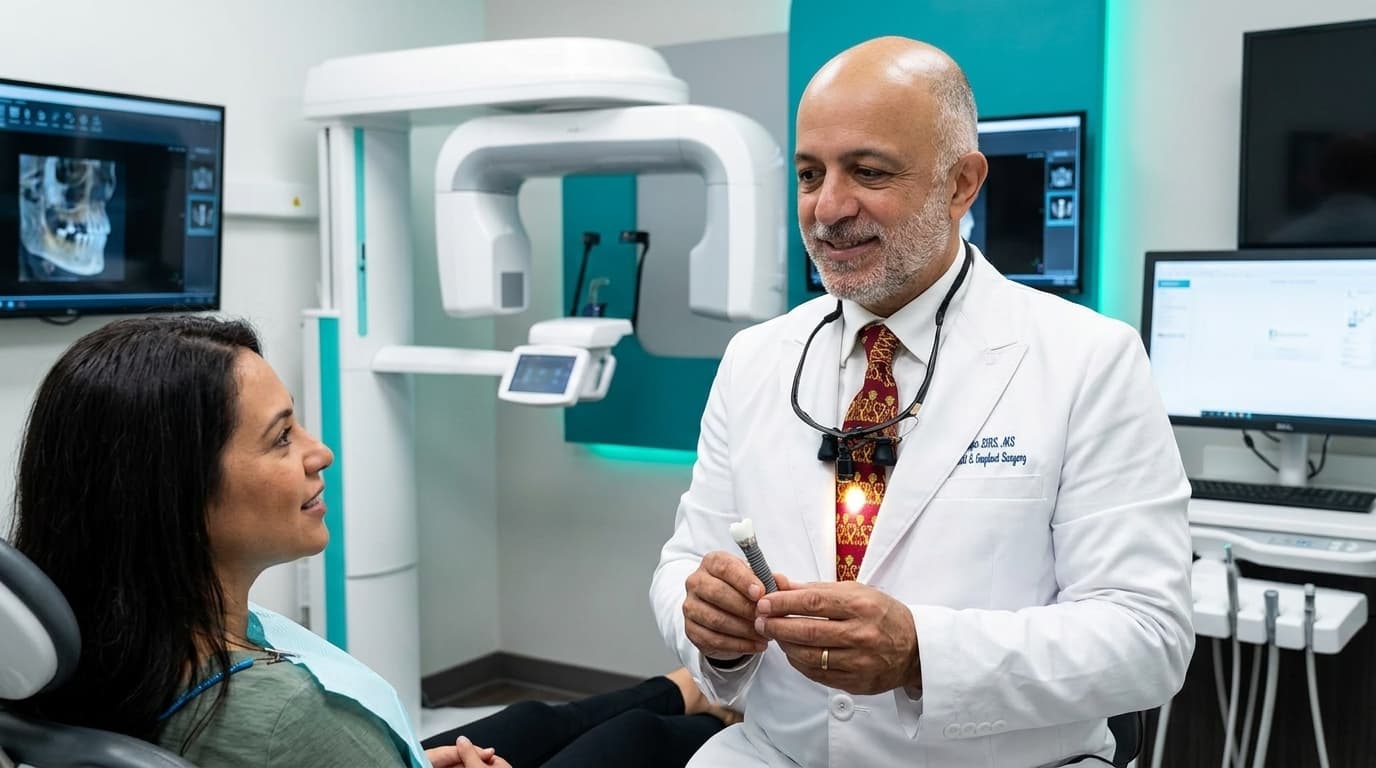
- 3D Cone Beam CT (CBCT) Scanning: Captures high-definition, three-dimensional views of your jawbone density, nerve pathways, and sinus cavities.
- Intraoral Digital Impressions: Replaces uncomfortable physical trays with fast, accurate digital scans of your teeth and gums.
Using these 3D models, your clinician maps out the exact angle, depth, and placement of your titanium posts before any physical procedure takes place.
2. Phase 2: Preparatory Procedures (If Needed)
A stable, long-lasting restoration requires a strong foundation of healthy jawbone and firm gum tissue. If a tooth has been missing for several months or years, natural bone thinning may have occurred.
Strengthening Your Foundation
If diagnostic imaging reveals reduced bone volume, your doctor may recommend gentle preparatory procedures:
- Bone Grafting: Biocompatible material is placed in areas of low density to encourage your body to generate fresh, strong bone tissue over a few months.
- Sinus Lift: For upper back tooth replacement, the sinus membrane is gently raised to make space for added bone volume.
Addressing foundational bone density beforehand ensures your dental implants remain rock-solid for decades.
3. Phase 3: Surgical Placement and Osseointegration
Once your jawbone foundation is confirmed healthy, the surgical placement of the titanium post takes place.
The Placement Appointment
Surgical placement is typically completed in a single, stress-free appointment:
1. Local Anesthesia & Sedation: Local numbing agents—paired with gentle dental sedation options if desired—ensure you feel zero pain throughout the procedure.
2. Precision Post Positioning: Using pre-designed surgical guides, your doctor creates a small opening in the gum tissue and places the medical-grade titanium post into the bone.
3. Protective Closure: The area is secured with small sutures to foster rapid, comfortable healing.
The Osseointegration Healing Period
Over the next 3 to 6 months, a remarkable biological process called osseointegration occurs. Your natural jawbone tissue fuses directly around the microscopic surface of the titanium post, creating a permanent artificial tooth root capable of withstanding full chewing pressure. During this healing period, comfortable temporary teeth are provided so you never have to walk around with gaps.
4. Phase 4: Abutment Placement and Custom Crown Restoration
Once osseointegration is complete, your doctor moves to the final restorative stages to attach your permanent artificial tooth.
Attaching the Abutment
In a quick, non-invasive visit, a small connector piece called an abutment is attached to the integrated titanium post. This component serves as the structural anchor that connects the post beneath your gums to the visible crown above.
Custom Crown Attachment
A few weeks after the abutment is placed, your custom porcelain crown is ready. Crafted in a specialized lab to match the exact shade, translucency, and shape of your natural teeth, the crown is securely anchored into place. Your doctor will carefully evaluate your bite alignment to ensure chewing feels completely natural and comfortable.
Frequently Asked Questions (Q\&A)
How long does the entire treatment process take from start to finish?
For most straightforward cases, the total process takes between 3 to 6 months. If preliminary procedures like bone grafting are necessary, the timeline may extend to 6 to 9 months to allow adequate time for bone growth before post placement.
Will I be without teeth during the healing period?
No. Your clinical team will ensure you have a comfortable temporary bridge, partial denture, or temporary crown to wear throughout the healing and osseointegration process so your daily life is never disrupted.
Is the recovery period after surgery painful?
Most patients are pleasantly surprised by how comfortable recovery is. Any minor swelling or mild discomfort usually peaks within 48 to 72 hours and is easily managed with over-the-counter pain medication or ice packs. Most individuals return to work and normal routines within a day or two.
How do I care for my new permanent restoration once it is complete?
Caring for a restored smile is identical to caring for natural teeth. Brush twice daily, floss daily around the restoration, and attend routine professional cleanings and examinations to keep surrounding gum tissue healthy.
Why Choose Allure Dental Arts for Your Implant Process?
At Allure Dental Arts, we walk with you through every step of your restoration journey with clear communication, advanced technology, and personalized care. Practice leader Dr. Farbod Youshei, DMD earned his Doctor of Dental Medicine from Roseman University of Health Sciences and began his career as a pharmacist — a background that informs his thoughtful, whole-patient approach to care.
Our practice performs every phase of the treatment process—from initial 3D digital planning and gentle bone grafting to surgical post placement and custom crown design—under one roof in El Monte. With advanced surgical precision and a peaceful, patient-first environment, Dr. Youshei and our multi-specialty team ensure your journey to a restored smile is completely comfortable.
Take the First Step Toward Your New Smile Today!
Ready to begin your journey to permanent, functional teeth? Contact our experienced team today to schedule your comprehensive 3D consultation in El Monte and the surrounding San Gabriel Valley.
- Brand Name: Allure Dental Arts
- Address: 11233 Valley Blvd, El Monte, CA 91731
- Phone: (626) 246-1200
- Website: https://alluredentalarts.com/
This article is general dental health information and is not medical advice. Treatment recommendations depend on each patient's situation — please call us with any questions about your own care.